Dress (comes in white & navy) || Bag || Shoes || Sunglasses || Earrings
Matt & I receive one to three emails a day, from readers requesting a tutorial on how we edit our photos.
I’ve kind of postponed sharing this topic on The TCC, because it can be quite cumbersome to break down and explain, via writing.
At first, I was split, I felt like maybe it would be easiest to show you guys this process on Instagram live, although I wanted the content to be available to you all, later down the line.
So I decided to write this blog post, and maybe I’ll do any Instagram live tonight of the process? Comment down below to let me know your thoughts on, whether you’d like an additional Instagram live of the topic or not.
Basically, I want to first start off this post by saying, editing is a VERY important part of your brand’s story.
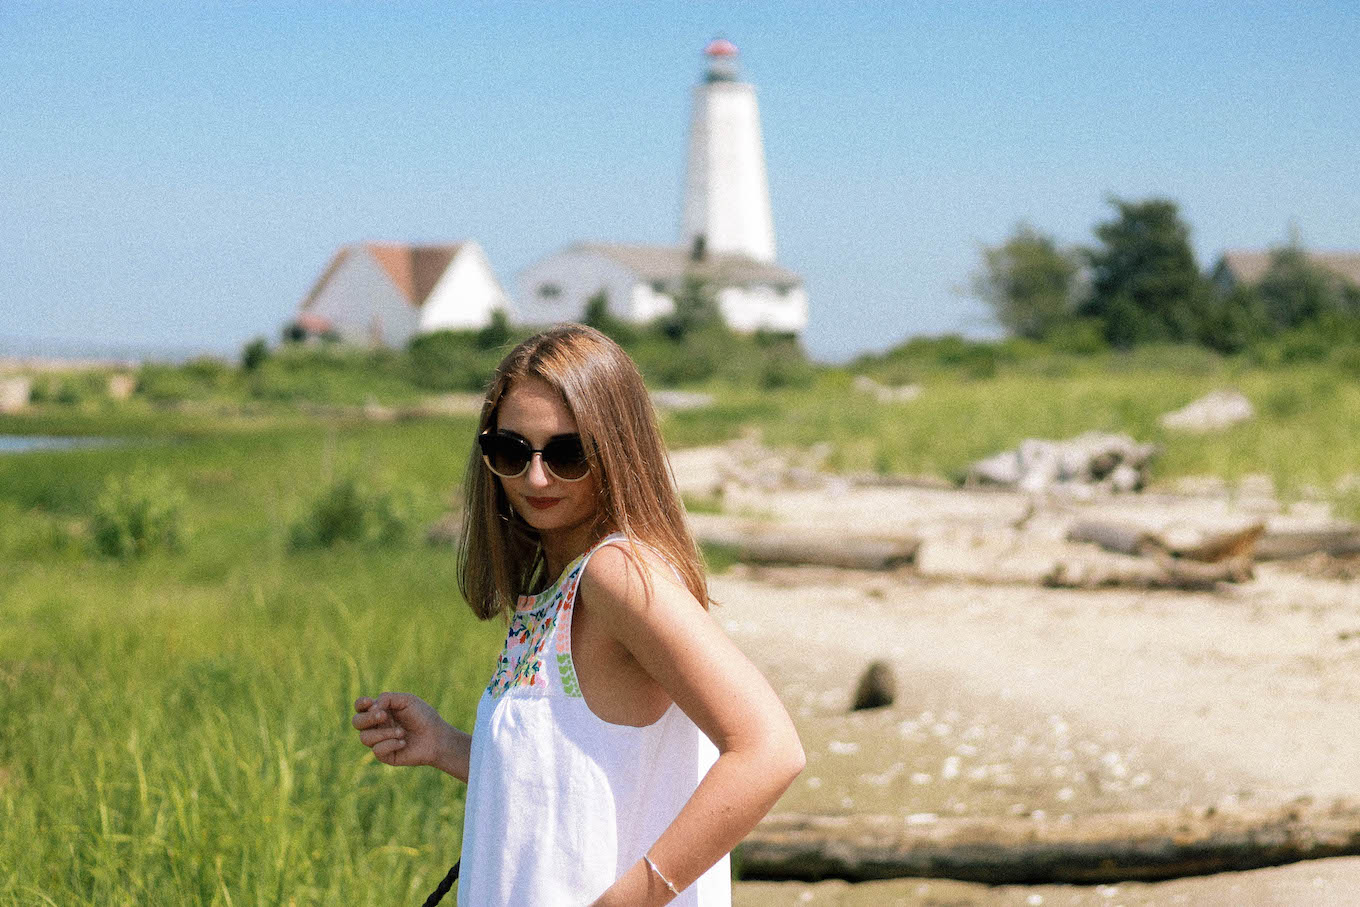
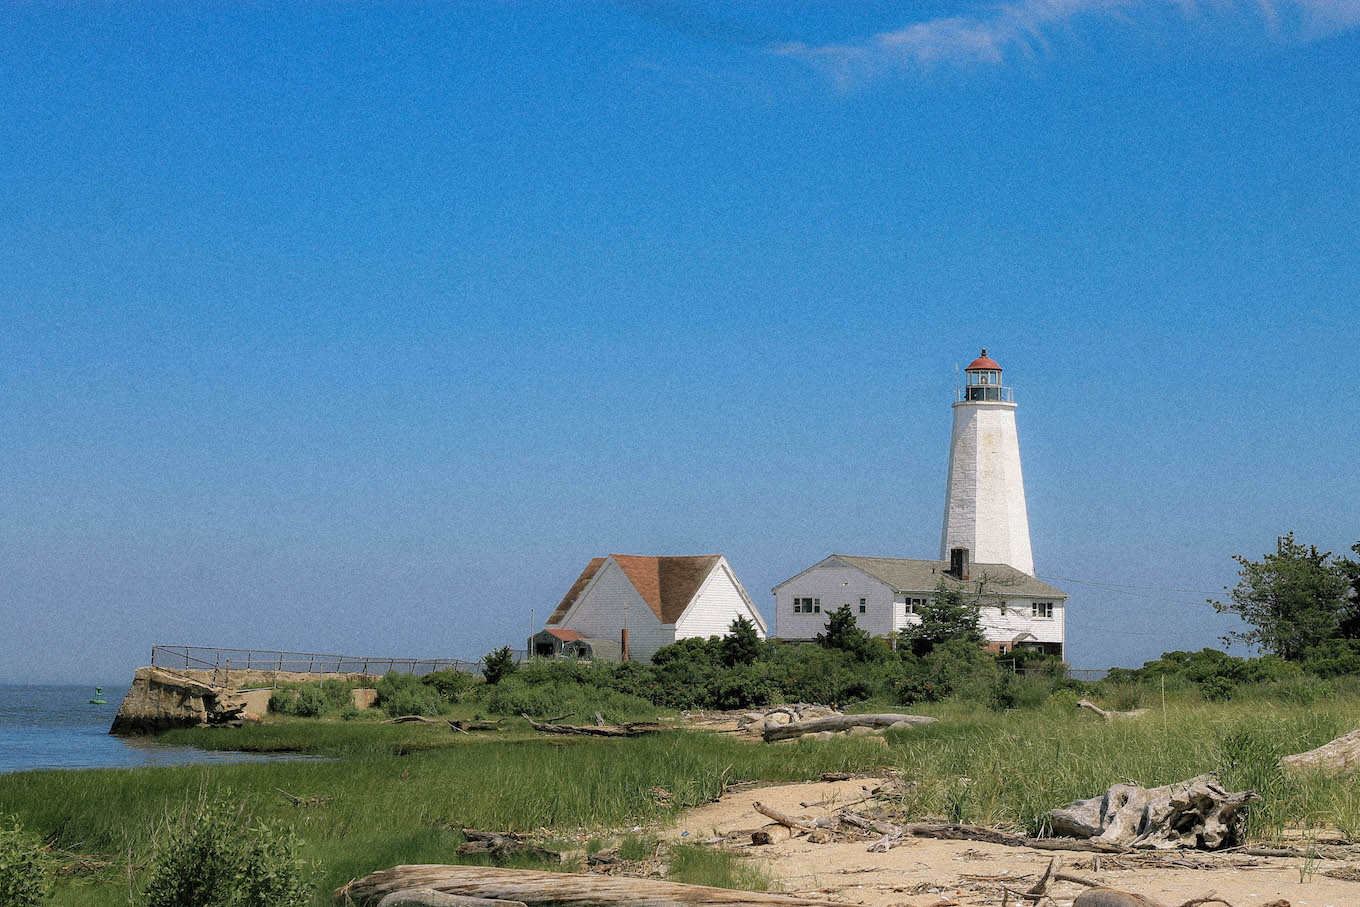
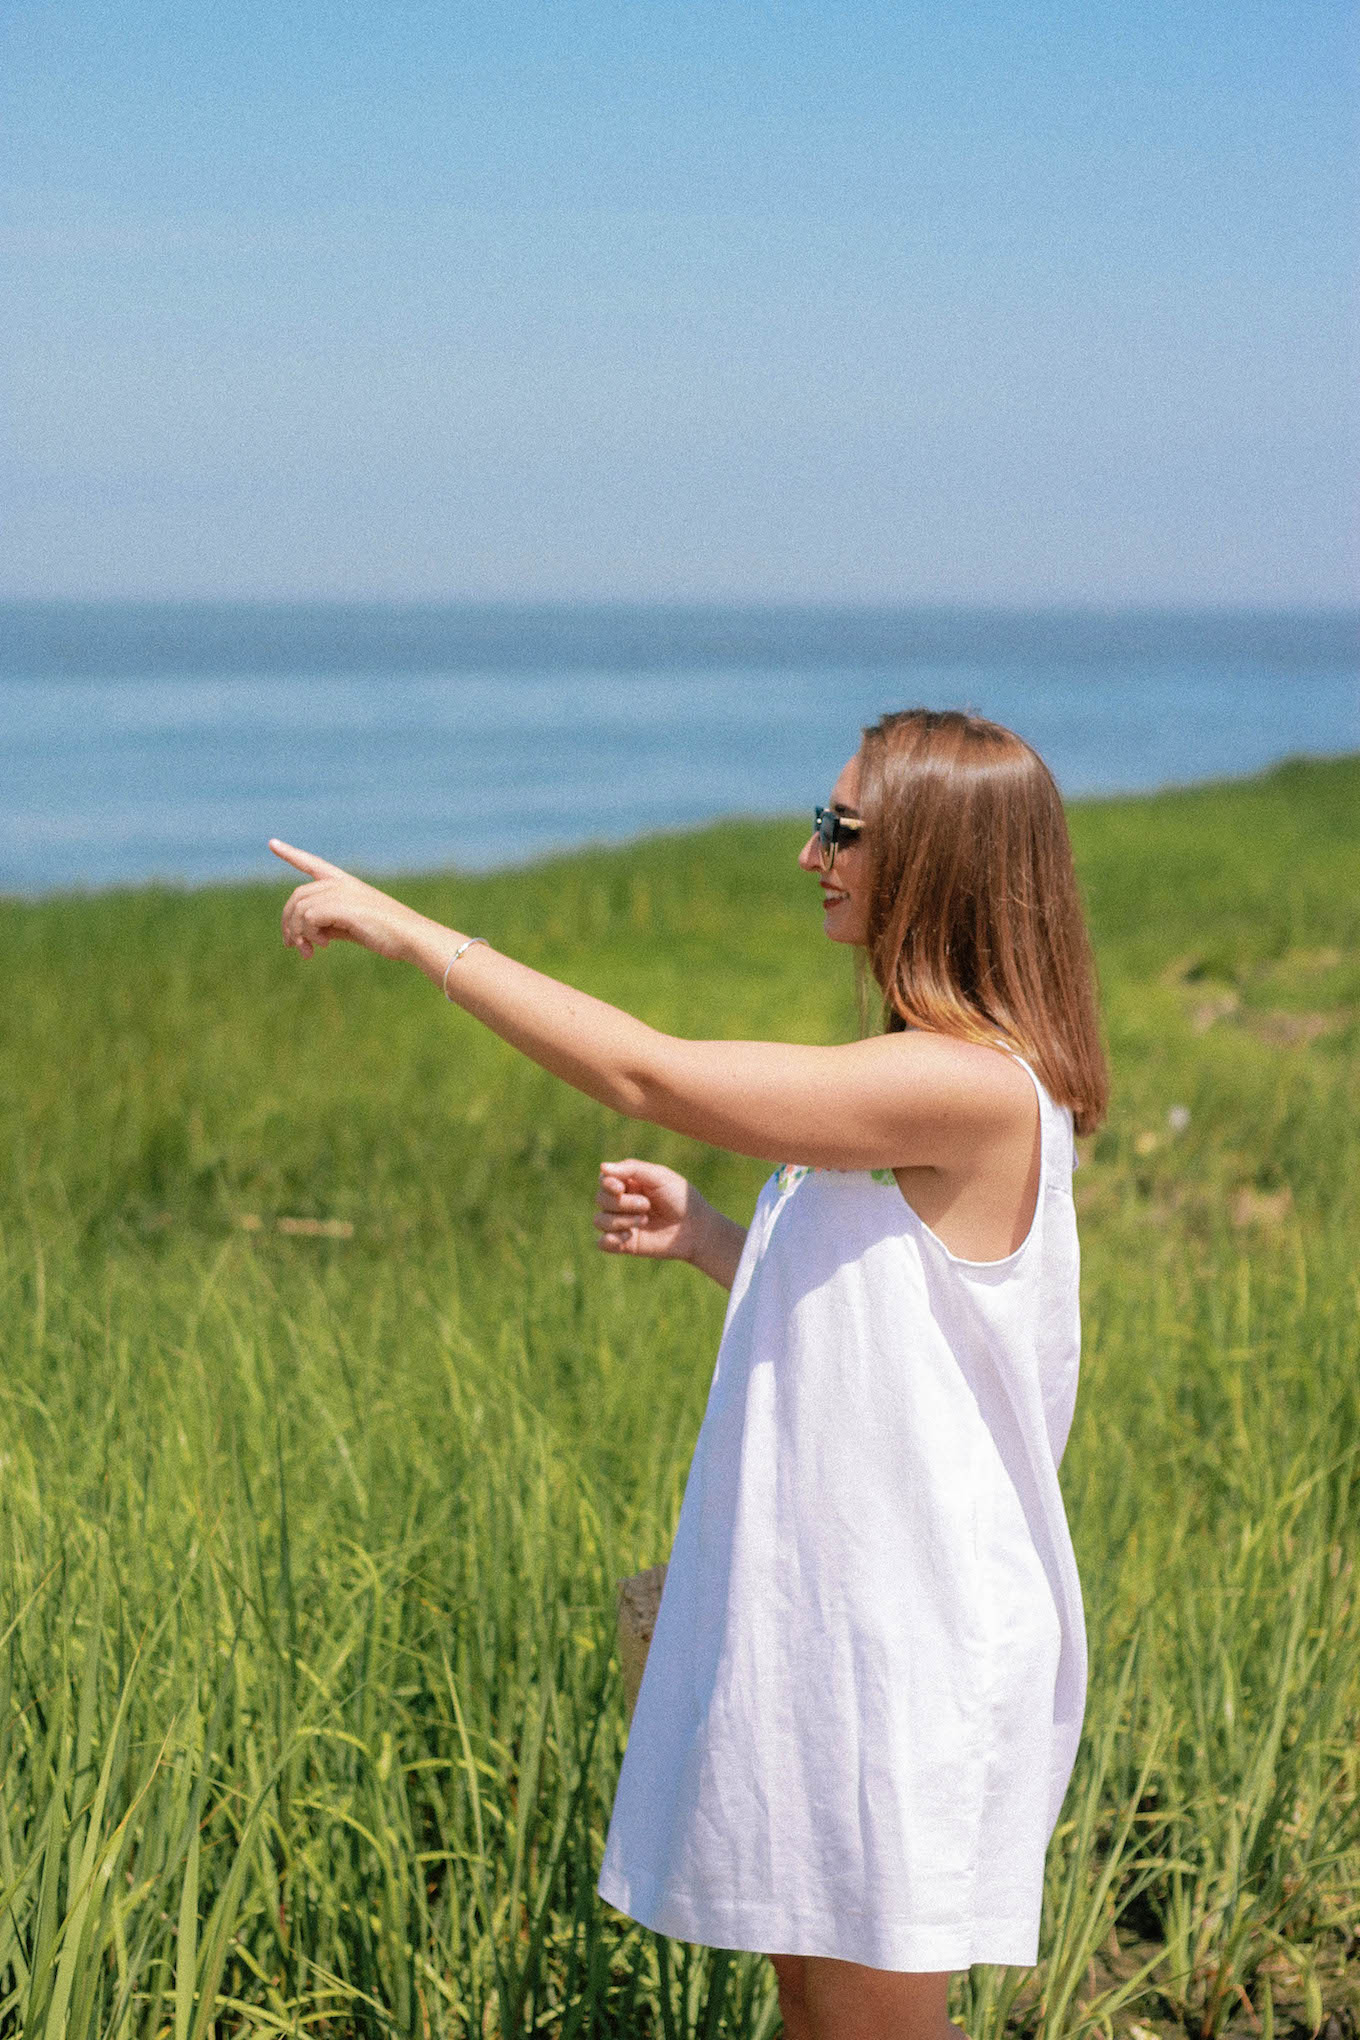
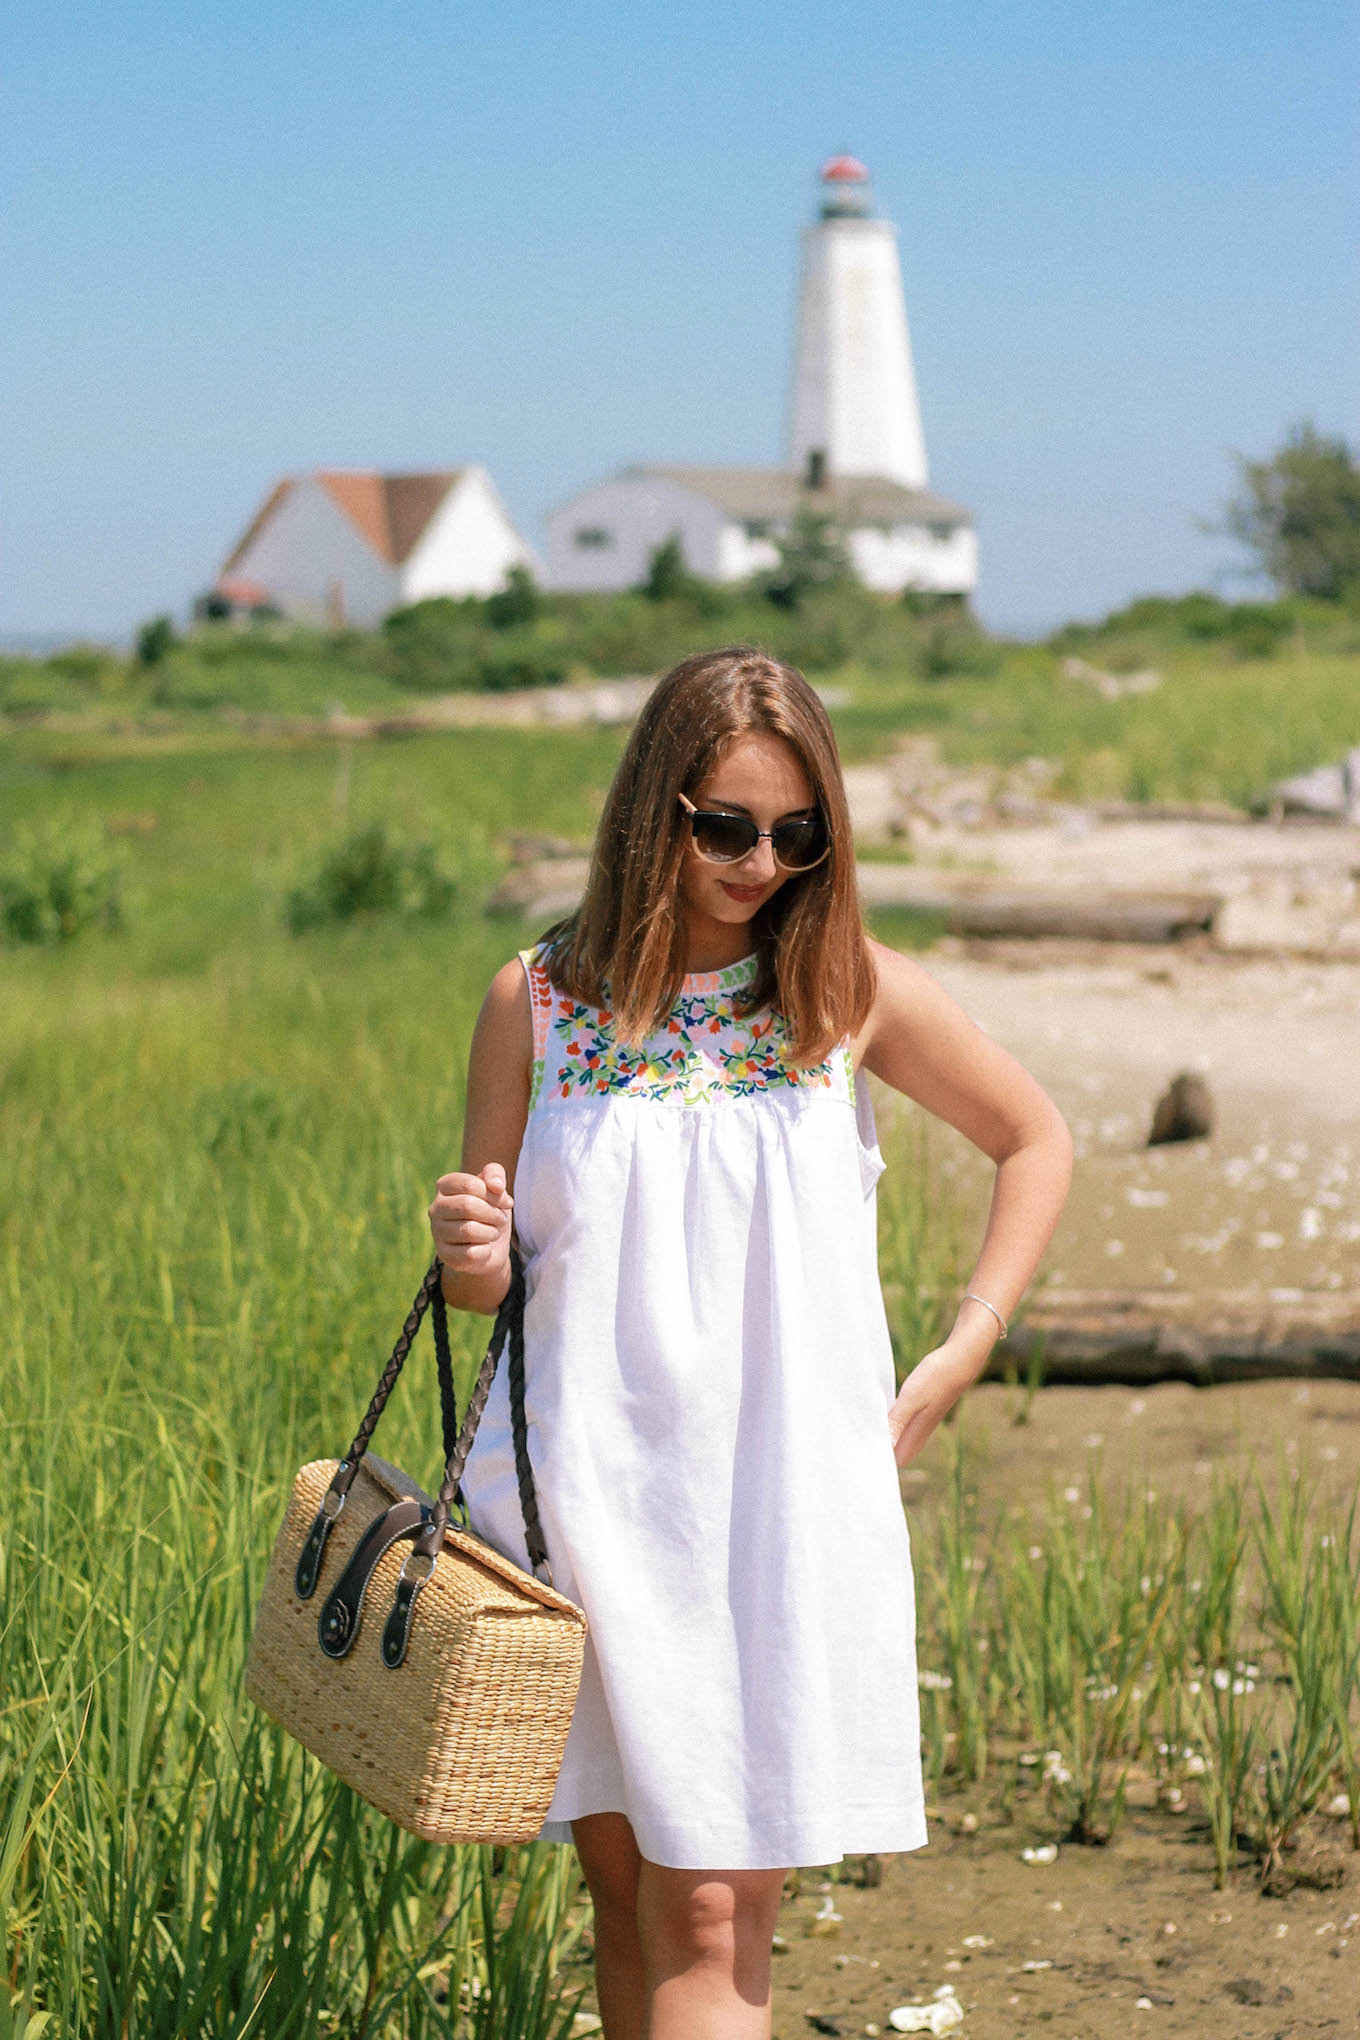
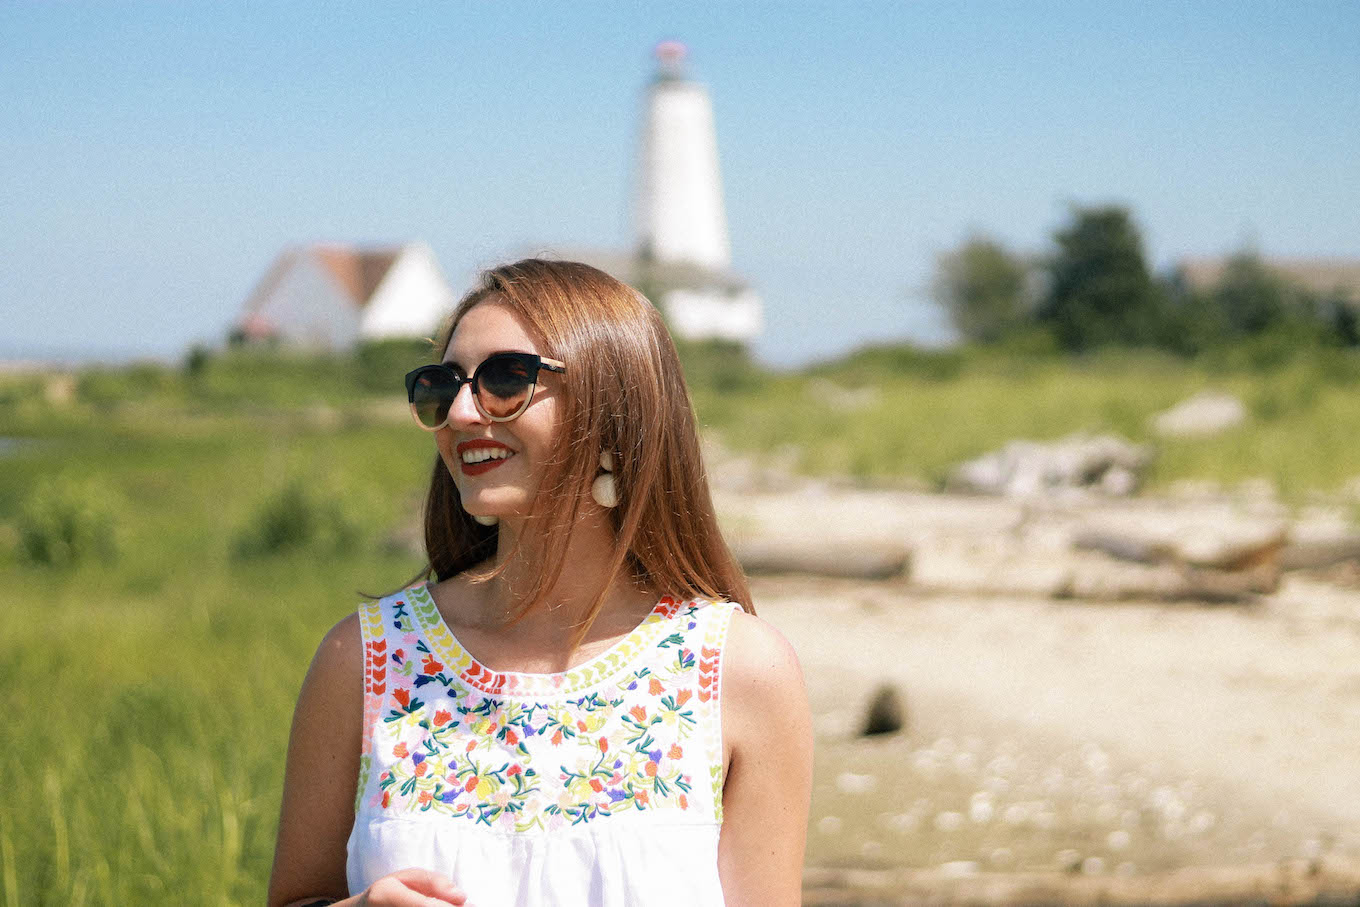
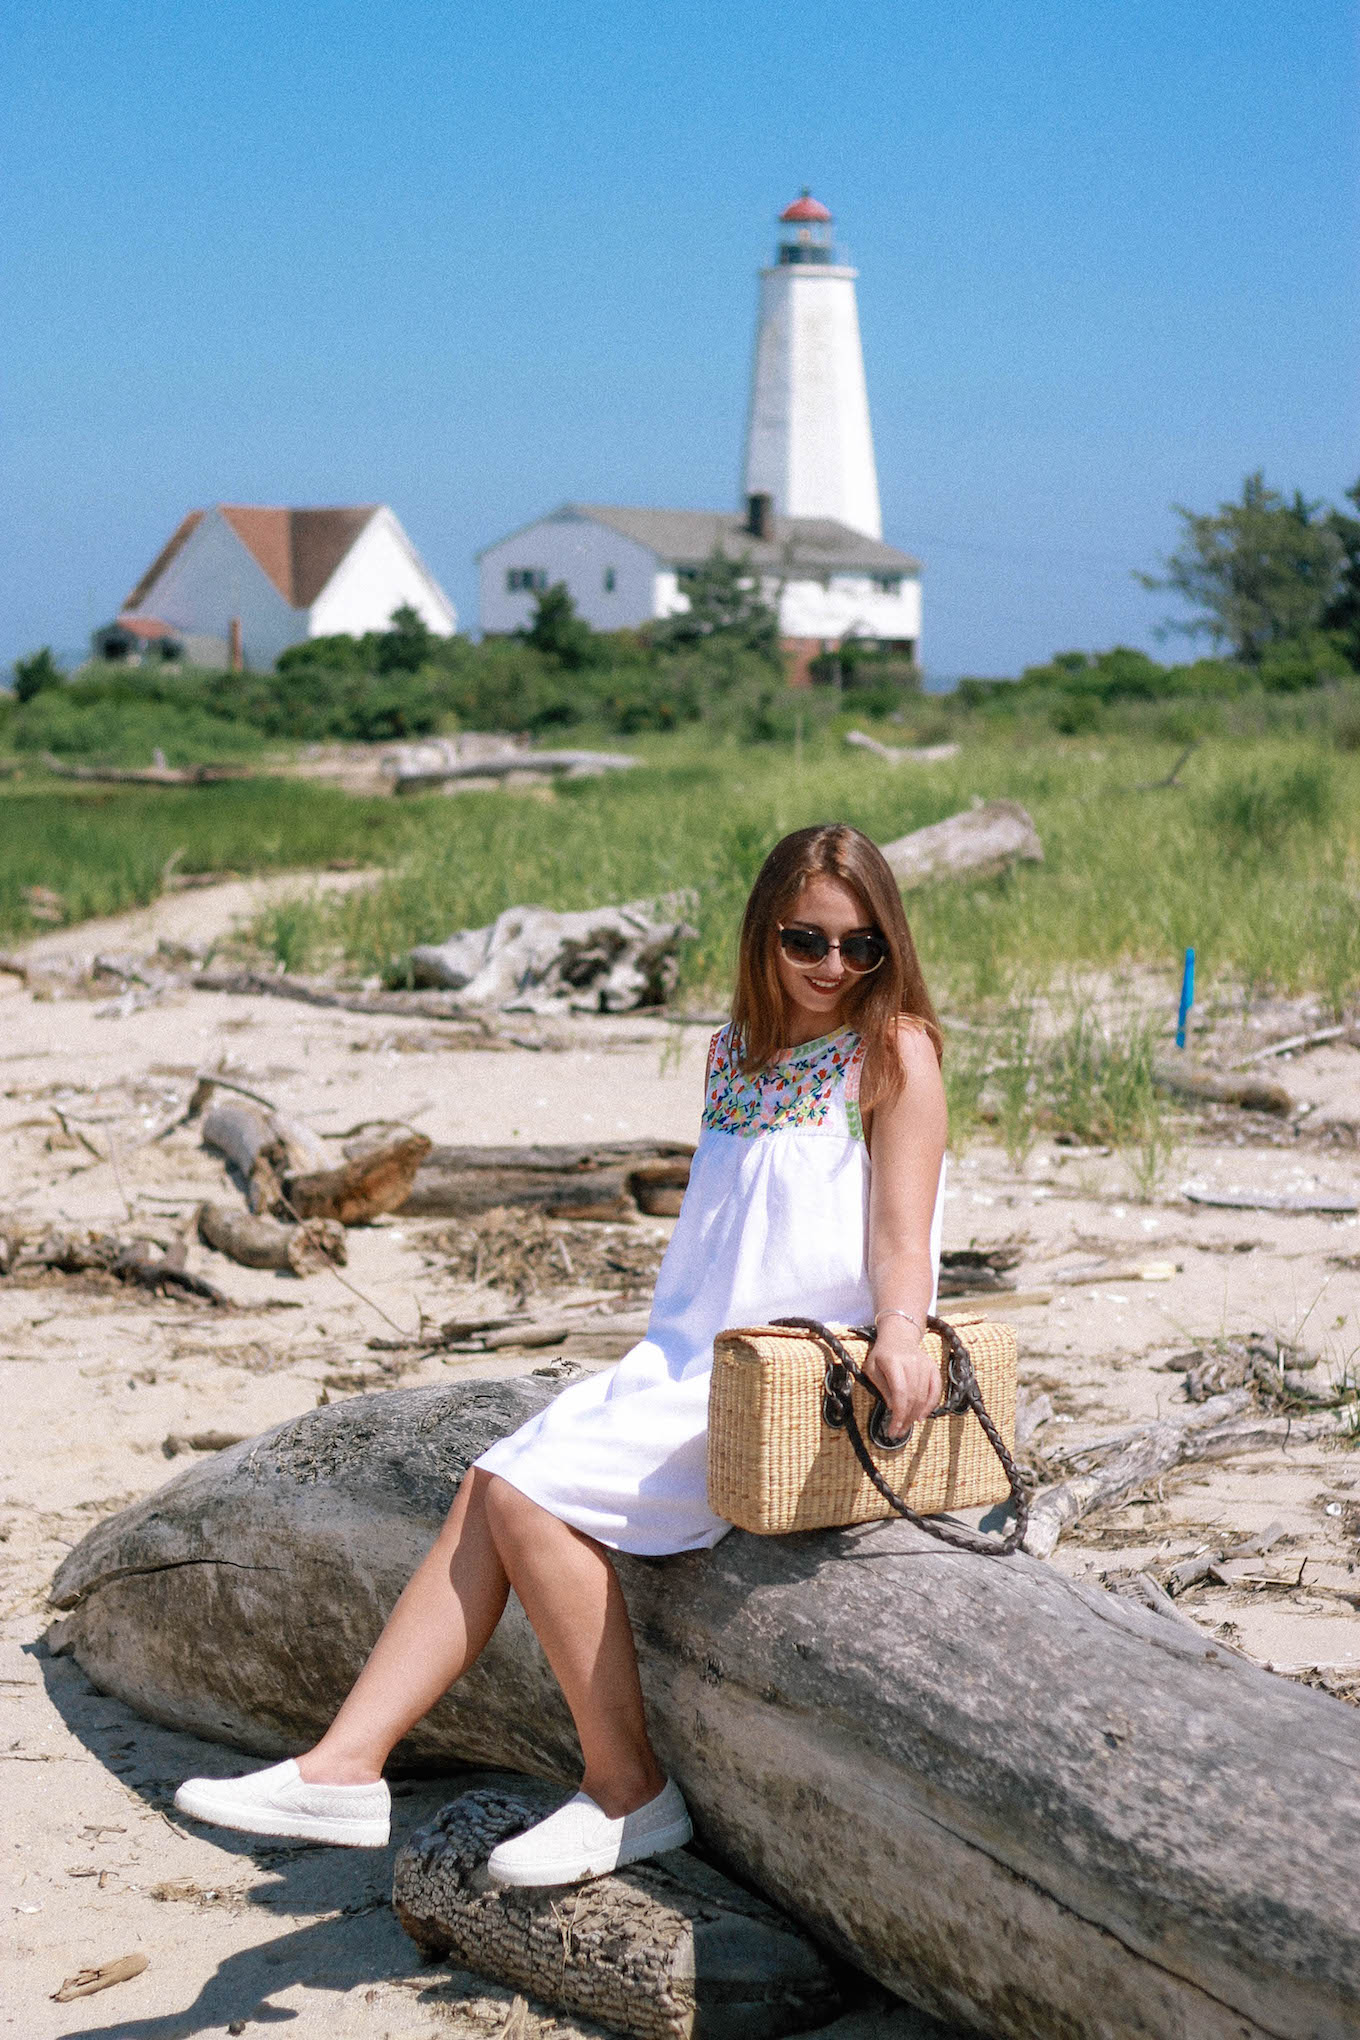
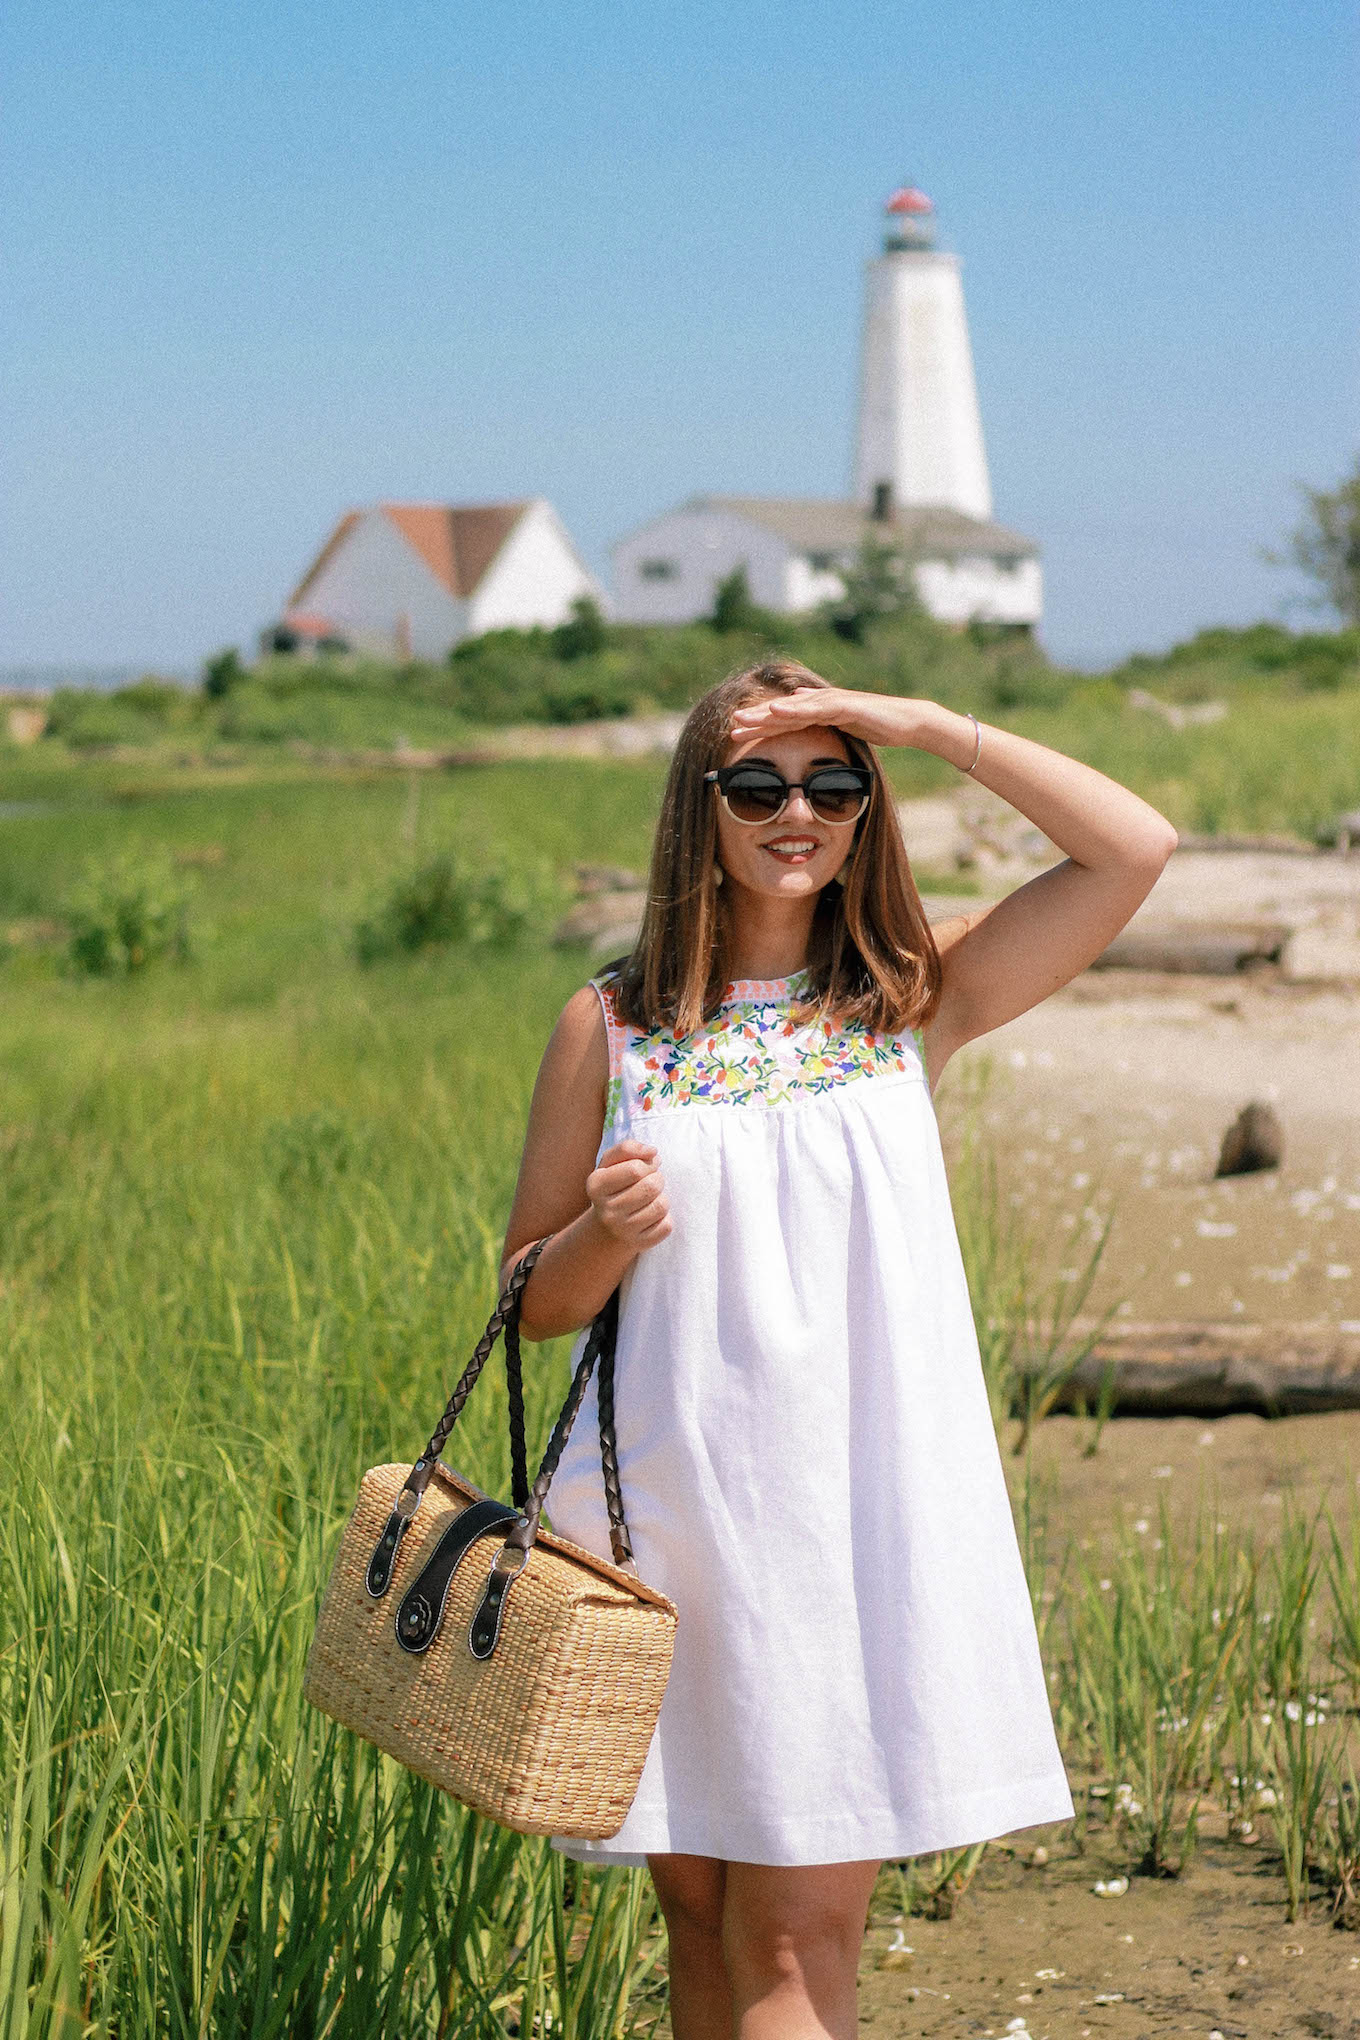
A lot of brands and bloggers, our team included, use editing images as a tool in branding. I work really hard at capturing and emphasizing the color schemes of New England, throughout my editing process, to help my images capture our brand’s mission statement.
The goal with editing is getting your photos to have a cohesive brand message. For instance, if you’re looking at my page, right now my brand message is to embrace the seasonal colors of New England summer, so that means browns, blues, and greens are all emphasized.
Our crew’s key goal when it comes down to editing is the following: Our editing process aims to diversify our content so that readers scrolling through Instagram, know when they are looking at a TCC image, versus another New England bloggers’ image.
So with that goal in mind, here is our 7 step editing process:
1) The first step and most time-consuming step is to sit down and delete about 70% of the images on file. I would say as a whole, our crew ends up taking anywhere from 150-273 images per outfit, and only 8-12 of those images get published for your eyes to see.
So my first job is deleting any pictures that are not up to par. This process alone is really nitty/gritty and can take me anywhere from one to three hours, per post.
2) Secondly, open Lightroom. Once I have my eight to twelve images selected, I download them straight into Lightroom and start editing. I start my editing process by adding a filter to all images.
I currently use the VSCO Film Pack[vsco.co], pack 02 to be exact, as my go to filter. These VSCO Pack filters help to adjust the tones and colors of your images, giving them all a similar and distinguished look.
3) Thirdly, adjustments. Once we have our filter on, our team will usually adjust the white balance, shadows, and saturation. We try to adjust as little as possible, as it’s important for us to capture the time of day and distinct weather, within each post.
Once you start to adjust, brightness, blackness, and exposure you can start to lose the ‘realness’ of your photos. & by that I mean, if it’s super cloudy and kind of gloomy, we leave it that way! I think it helps bring relatability to your posts, if not every post is super bright, sunny and over-exposed.
4) Fourthly, I usually adjust the color balance to a warmer hue. I like my photos to have a warm hue to them, but you can also drag the color balance in the opposite direction, to give your image a cooler hue.
5) Next, I like to adjust the hue of certain colors. I’m working with a very basic camera model[bit.ly], so it sometimes has trouble picking up the colors and tones of water, moving objects or stripes; so I’ll go into the hue section to color-correct any colors that aren’t accurately being showcased.
I usually have to adjust the hues when it comes to photo shoots by water. I like to showcase the blueness in water, while my camera often captures water as white.
6) Finally, sync the edits to all images. I usually make all of these edits to just one image, and I then go up into the menu and hit select all images. Once you do that, a little Sync button will pop up on the bottom of your screen. This will allow you to sync the exact edits you made on one photo to all 8-12.
This not only saves time but also helps your images look cohesive.
7) Finally, label your images! I label all images, using the title of the blog post they’ll be featured in and save it to a folder. This technique of labeling makes it easy for me to find images, later down the line.
& that basically sums up, how our crew edits our outfit and lifestyle photos, for la blog.
I do slightly different edits for Instagram, so let me know below if you’d like a post focused on how I edit my Instagrams. & happy Friday guys! xx Aubrey
Shop This Post:
Leave a Comment
2 thoughts on "How To Edit Your Blog Photos"
Leave a Reply
Newsletter
Subscribe to see our favorite pieces of New England, in your inbox weekly.




I would love to see a before and after comparison. Just to see how much my photos would be impacted to invest in this technology.
Love these tips Aubrey! Editing can often seem overwhelming but well worth it!
Taylor | http://www.livingtaylored.com